The following activity is part of a series we’re creating to support students, teachers, and caregivers, during this unprecedented time. Read more about the project here. If you try this activity with your student(s), we’d love to see what you do. Share your journey via the #Inspired2Learn hashtag on your preferred social platform.
Created by: Jenna Fournel
Discipline: Science
Age level: preK – upper elementary/middle
Time: 30 minutes to half an hour depending on how many objects you use and how many steps you have your student(s) take.
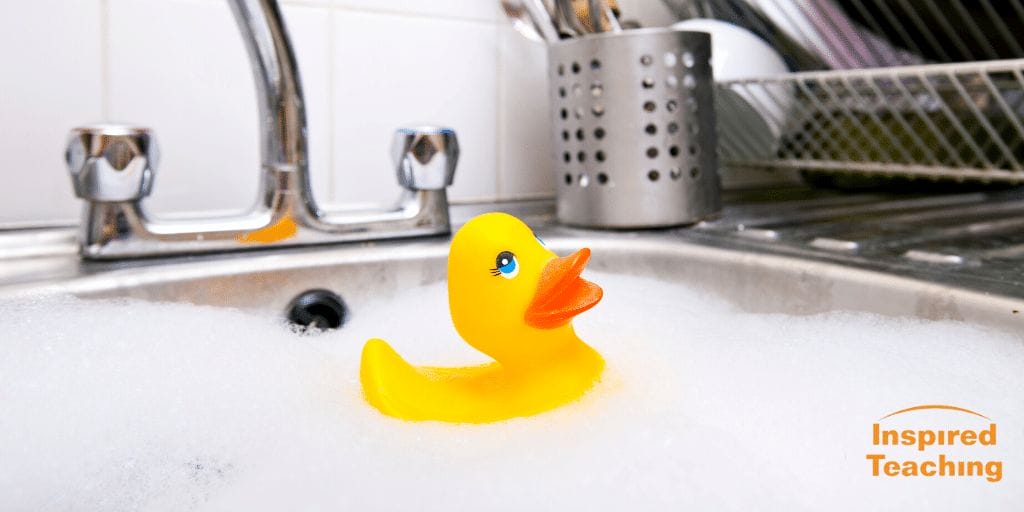
Materials: A sink or tub filled with water, about 20 different objects that you don’t mind getting wet, tape, tinfoil, plastic wrap, rubber bands and any other readily available materials that could be used to make an object sink or float. Writing materials.
What to do:
This activity can be as simple as sticking things in water to see if they sink and as complicated as building contraptions to make things that normally sink stay afloat (or make things that normally stay afloat sink). Depending on your timing and your student’s interest, you can do all these steps or just a few. Note that if you have a student who isn’t writing yet, you can still do this activity and write their observations on a chart for them. (If you’re a teacher using this activity for virtual learning, parents or guardians can share the writing they do with you via photos they send via email.)
- Student divides a piece of paper into four columns labeled as follows: Object Name / Hypothesis: Will it sink or float? / Test: Did it sink or float? / Why did it sink or float? How could I make it do the opposite?
- Student lists all the objects and writes their hypothesis for each.
- Students test each object in the sink or bath, writing the results of their test in that column. (If you are a teacher using this activity virtually you can create a collaborative spreadsheet in google docs, invite all students to that spreadsheet, and have them enter their findings in there so they can learn from one another.)
- Next challenge students to experiment with using different materials to make objects do the opposite of what they normally do in water (i.e. using tin foil to construct a boat that will keep a heavy object afloat).
- After these various experiments, discuss the findings with your student(s). Examples of questions might be: What do you notice about all the things that floated or the things you created to help objects float? What do they have in common? What about the things that sink? If you had to build a boat, what did you learn today that you’d use to help you build it?
Inspired Teaching Connection
This fun and sometimes unexpected approach to thinking like a scientist engaged students in the Wonder-Experiment-Learn Cycle. The activity encourages not only purpose, persistence, and action, it also generates some interesting evidence of student learning. The chart created as students test their hypotheses helps you see their learning in action. And it helps the students see their own learning, and the learning of their peers. The discussion at the end helps to check for understanding. When they devise ways to make objects do the opposite of their original nature, they’re putting their intellect, inquiry, and imagination to work!
See our instructional model here.
